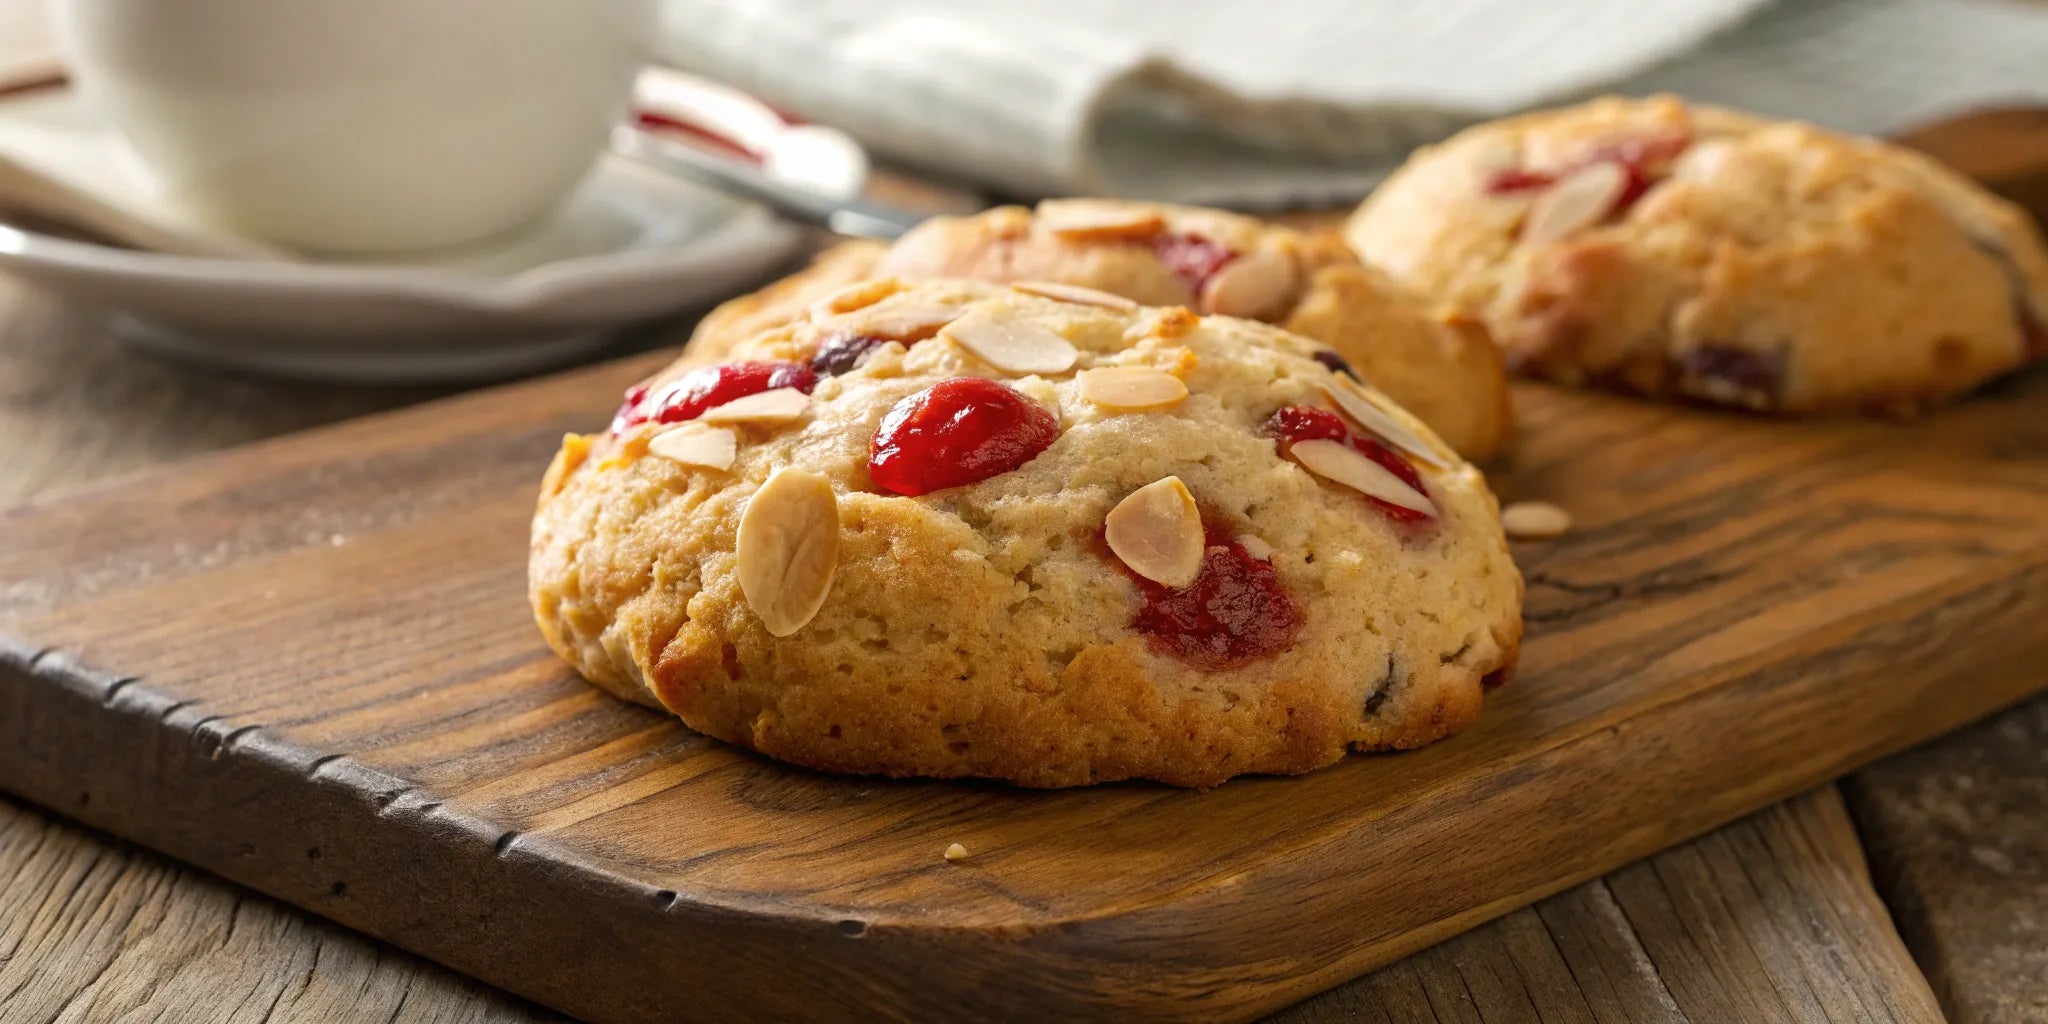
The Perfect Chewy Italian Almond Cherry Cookies
Bake the best Italian almond cherry cookies with this easy guide. Get tips for chewy texture, authentic flavor, and simple ingredient swaps.
Let’s talk about flavor. A great cookie should be a full sensory experience, and these coffee butter cookies deliver on every level. It starts with the rich aroma of freshly brewed coffee that fills your kitchen as they bake. Then comes the first bite: a satisfyingly light crispness that gives way to an unbelievably tender texture that dissolves on your tongue. The flavor itself is a perfect harmony, where the deep, slightly bitter notes of coffee are smoothed out by the decadent creaminess of butter. It’s a grown-up flavor profile that feels indulgent, comforting, and completely addictive all at once.
There’s something truly special about a cookie that captures the rich, aromatic experience of your favorite coffee. Coffee butter cookies manage to do just that, blending the bold notes of coffee with the creamy, decadent flavor of high-quality butter. It’s a sophisticated combination that feels both indulgent and wonderfully familiar. But what is it that makes them so hard to stop eating? It’s more than just a list of ingredients; it’s the perfect harmony between flavor and texture. It’s the way they surprise you with a crisp bite that gives way to a melt-in-your-mouth center. These cookies have a unique charm that makes them perfect for a quiet moment alone or for sharing with people you love.
The secret to an unforgettable coffee butter cookie is all in the balance. You’re aiming for a distinct, robust coffee flavor that stands out without being bitter or overpowering. Think of it as capturing the essence of a perfectly brewed cup. The butter is its ideal partner, lending a rich, creamy foundation that smooths out the coffee’s intensity and adds a luxurious depth. When you get this ratio right, neither flavor overshadows the other. Instead, they create a beautiful partnership, resulting in a cookie that’s both bold and incredibly smooth. It’s this delicious harmony that makes the flavor so compelling and, let’s be honest, completely addictive.
Prepare yourself for a fantastic sensory journey. The first bite of a coffee butter cookie offers a delicate crispness that almost immediately gives way to a tender, buttery crumb that melts the moment it hits your tongue. This unique texture is what truly sets them apart from other cookies. As it dissolves, you’re met with that rich, buttery flavor and a wonderful, strong coffee aroma that enhances the entire experience. It’s a delightful contrast that feels both light and indulgent at the same time. This combination of a crisp exterior and a soft, melting interior makes every single cookie a small, perfect moment of bliss.
If you’re searching for a thoughtful and impressive homemade gift, coffee butter cookies are an amazing choice. Their flavor is sophisticated yet approachable, making them a wonderful treat to enjoy with a cup of coffee or tea. This versatility ensures they’ll be a hit with almost anyone you share them with. Plus, one of the best things about this recipe is that the cookies hold their shape beautifully during baking. They don’t spread out much in the oven, so any carefully piped designs will come out looking sharp and professional. This makes them a visually stunning gift that tastes even better than it looks.
Before you even think about preheating the oven, let’s get all your ingredients lined up. The magic of these coffee butter cookies is in their simplicity, but using high-quality components is what makes them truly unforgettable. Getting everything measured and ready to go first—a practice chefs call mise en place—makes the whole baking process feel smooth and effortless. Think of it as setting the stage for your delicious creations.
To get that signature melt-in-your-mouth texture, you’ll need a few key items. The core ingredients for this recipe are unsalted butter, powdered sugar, instant coffee granules, cornstarch, and all-purpose flour. Each one plays a crucial role: the butter provides richness, the powdered sugar gives a smooth sweetness, the coffee delivers that robust flavor, and the cornstarch is our secret weapon for an incredibly tender crumb. Having a well-stocked baking pantry makes whipping up treats like this a breeze whenever the craving strikes.
The coffee is the star of the show here, so you’ll want to choose one with a bold, deep flavor. I recommend using the strongest instant coffee you can find. A fantastic option is a Vietnamese brand like G7, which is known for its intense, aromatic profile. When you’re shopping, make sure you grab the version that is just pure coffee—no added creamer or sugar packets. This ensures you can control the sweetness and creaminess of your cookies and let that pure coffee flavor really shine through.
Great butter is non-negotiable for great butter cookies. The quality makes a huge difference in both the taste and the delicate texture. Look for a good quality unsalted butter with a high fat content, ideally around 82%. That higher percentage of butterfat is what creates an exceptionally rich flavor and a cookie that practically dissolves on your tongue. If you only have salted butter, you can definitely still use it. Just remember to reduce or omit the added salt in the recipe to maintain a perfect flavor balance.
We’ve all been there—you’re halfway through a recipe only to realize you’re missing something. Don’t panic! If you don’t have cornstarch on hand, you can easily substitute it with potato starch. It will give you a very similar result, helping to create that light, delicate texture we’re after. Knowing a few simple baking substitutions can be a lifesaver in the kitchen and keeps the baking process fun and stress-free. This easy swap ensures you can still get perfect cookies without an extra trip to the store.
Alright, let's get our hands dirty and bake some incredible cookies! This guide will walk you through every step, from prepping your ingredients to storing your finished treats. Baking is all about precision and a little bit of love, so take your time and enjoy the process. The reward is a batch of coffee butter cookies so good, you’ll have a hard time sharing. Ready? Let's do this.
First things first, let's get organized. A clean and prepped baking station makes everything run smoothly. Pull out all your ingredients and measure them before you start mixing. The most important player here is your butter. It needs to be soft, but not melted. A great way to check is to press it with your finger; it should leave a small indent. Using melted butter is a common mistake that leads to dense, hard cookies instead of the light, airy texture we're aiming for. Taking a few extra minutes to properly get your butter to room temperature is the secret to that perfect melt-in-your-mouth feel.
Now for the fun part. To create a truly flawless dough, start by beating your softened butter and icing sugar together until the mixture is light and fluffy. Then, add your egg and mix until it's just combined. In a separate small bowl, dissolve your instant coffee in a bit of hot water and let it cool down completely. While that's cooling, whisk your dry ingredients (flour, cornstarch, etc.) together. Finally, you'll combine the cooled coffee mixture with the butter mixture, then gently fold in the dry ingredients. This method ensures every bite is packed with rich, even coffee flavor.
Once your dough is mixed, it's time to give it some shape. Fit a piping bag with your favorite star tip and pipe your cookies onto a baking sheet lined with parchment paper. Here’s a pro tip that makes all the difference: chill the piped cookies. After you’ve piped them onto the tray, pop the whole thing in the fridge for at least 30 minutes. This step is essential because it helps the cookies keep their beautiful flower shape while they bake instead of spreading out into flat discs. Don't skip this—patience is a baker's best friend!
Your oven is your best friend and biggest variable in baking, so let's get the settings just right. Preheat your oven to 350°F (175°C). Baking times can vary slightly depending on your oven and the size of your cookies. Some recipes call for a quick bake of just 8 minutes, while others suggest a longer time of 18-22 minutes, rotating the baking sheet halfway through for an even bake. I recommend starting with a shorter time and keeping a close eye on them. You're looking for the edges to be lightly golden. It's always better to underbake slightly than to overbake.
You've made it to the final stretch! Once your cookies are out of the oven, let them cool on the baking sheet for about 5 minutes. This allows them to set up just enough so they don't fall apart when you move them. After that, carefully transfer them to a wire rack to cool completely. This step is crucial for getting that perfect crisp-yet-tender texture. Once they're fully cooled, store them in an airtight container. They’ll stay wonderfully fresh for up to a month, though I doubt they’ll last that long
A few simple techniques can make all the difference between good cookies and truly unforgettable ones. I've learned these tricks over years of baking, and they'll help you get that perfect, melt-in-your-mouth result every single time. It all comes down to paying attention to a few key details, from the temperature of your butter to how you store the finished product. Let's walk through the secrets to making your coffee butter cookies absolutely perfect.
Believe it or not, the temperature of your butter is one of the most critical factors in baking. For these cookies, you want your butter softened, but not melted. The ideal temperature is around 68–72°F (20–22°C), where it’s pliable but still cool to the touch. If it’s too cold, it won’t cream properly with the sugar, leaving you with dense cookies. If it’s too warm, the dough will be greasy and spread too much in the oven. A quick trick is to microwave it on a medium setting for about 15 seconds. This small step ensures the butter and sugar combine into a smooth, fluffy base, which is the foundation for a great cookie texture. Understanding the role of ingredients in baking is a game-changer.
That incredible crisp-yet-tender texture doesn't happen by accident. It’s all about the ingredients. Using cake flour and caster sugar is key. Cake flour has a lower protein content, which results in a more delicate, tender crumb. Caster sugar has finer crystals than granulated sugar, so it dissolves more easily into the butter, creating a smoother dough. Another secret weapon is cornstarch. Just a little bit of cornstarch helps make the cookies wonderfully crumbly and tender, giving them that signature melt-in-your-mouth quality. These specific choices are what separate a standard butter cookie from a truly gourmet one.
It’s so easy to get carried away with an electric mixer, but over-mixing is the enemy of tender cookies. When you’re creaming the butter and sugar, only mix until it’s combined and looks like smooth toothpaste. Beating it for too long incorporates too much air, which can cause the cookies to rise and then collapse, making them dense. The same rule applies once you add the flour. Mix the dough gently and only until it just comes together. Over-kneading or over-mixing at this stage develops the gluten in the flour, which will make your cookies tough and hard instead of delicate and crumbly.
You’ve baked a perfect batch of cookies—now you want to keep them that way! The most important rule is to let them cool completely on a wire rack before you even think about storing them. Storing warm cookies creates steam, which will make them soft and soggy. Once they’re at room temperature, place them in an airtight container right away. This is especially crucial if you live in a humid climate, as it protects their crisp texture. Stored properly, your coffee butter cookies will stay fresh and delicious for up to a month, ready for you to enjoy whenever you need a little treat.
Once you’ve mastered the basic recipe, the real fun begins. These coffee butter cookies are the perfect canvas for all sorts of creative twists. Whether you want to introduce new flavors, add some texture, or dress them up for a special occasion, here are a few simple ideas to get you started.
One of the best things about this recipe is how wonderfully adaptable it is. If you’re not a huge coffee fan or just want to switch things up, you can easily substitute the coffee powder. Try using matcha for a vibrant, earthy green tea flavor or even cocoa powder for a double-chocolate version. For a timeless treat, you can simply leave out the coffee altogether to create a classic, rich butter cookie. This flexibility lets you experiment with different flavors and find the perfect cookie for any mood or occasion.
Is there a more iconic duo than chocolate and coffee? I don’t think so. The deep, robust flavor of espresso blends perfectly with the sweetness of chocolate, creating a warm, chewy cookie that’s truly next-level. This combination is a classic for a reason—it just works. The chocolate not only deepens the coffee notes but also adds a wonderful richness to the cookie’s texture. If you want to explore this delicious pairing, you can mix chocolate chips directly into the dough or dip the finished cookies in melted chocolate for an extra decadent touch.
If you love a good textural contrast, adding nuts is the way to go. A nutty crunch provides a fantastic counterpoint to the soft, melt-in-your-mouth texture of these butter cookies. After your cookies have baked and cooled, you can get creative. Try drizzling them with melted dark chocolate and then sprinkling on some finely chopped pistachios or toasted almonds. This doesn’t just add a satisfying crunch; it also introduces a lovely savory note that balances the sweetness. It’s a simple step that makes your cookies look and taste like they came from a gourmet bakery.
You don’t need to be a pastry chef to make these cookies look stunning. A few simple decorating tricks can make a huge difference. Once your cookies are completely cool, my favorite technique is to dip half of each cookie into a bowl of melted dark or white chocolate. Before the chocolate sets, you can sprinkle on whatever you like! Chopped pistachios add a beautiful pop of color, but you could also use festive sprinkles, toasted coconut flakes, or even a dash of sea salt. This small effort makes your cookies feel extra special, whether you’re serving them to guests or just treating yourself.
These cookies are perfect for sharing, and the right packaging will keep them fresh and beautiful. The most important thing is to use an airtight container. This will protect them from air and moisture, preserving that perfect buttery texture. You can line a cookie tin or a simple box with parchment paper before arranging the cookies inside. If you’re stacking them, place a small square of parchment between layers to prevent them from sticking. Stored properly, these coffee butter cookies will stay fresh and delicious for up to a month, making them an ideal make-ahead gift for friends, family, or coworkers.
Even the most experienced bakers have a batch of cookies that doesn’t turn out quite right. If your coffee butter cookies aren’t what you dreamed of, don’t panic! Most baking mishaps are totally fixable. This guide will walk you through some common cookie problems and give you simple, actionable steps to ensure your next batch is picture-perfect and delicious. Think of it as your personal baking helpline for getting those melt-in-your-mouth results every single time.
If your cookies turned out hard or tough instead of tender, the most likely culprit is over-mixing the dough. Once you add flour, mixing too much develops gluten, which leads to a dense, tough cookie instead of a delicate one. For that perfect crisp-then-tender bite, mix only until the flour is just combined. The right ingredients also play a huge role. Using a lower-protein flour, like cake flour, can help you achieve that signature light and buttery texture that makes these cookies so irresistible.
Is the coffee flavor getting lost? The fix is simple: use a stronger instant coffee. A dark espresso powder or a robust instant coffee without any added sugar or creamer will give you that bold, rich flavor you’re looking for. On the other hand, if your cookies aren’t quite sweet enough, you can easily adjust the recipe. Try adding about 10 more grams of powdered sugar when you’re creaming the butter. This small change can create the perfect balance against the deep, slightly bitter notes of the coffee.
Did your beautifully piped rosettes spread into flat, sad puddles in the oven? This frustrating problem usually stems from two things: over-creaming the butter and sugar or skipping the chill time. While creaming is important, stopping as soon as the mixture is light and fluffy helps the cookies hold their shape. But the real game-changer is to chill the dough. After piping your cookies onto the baking sheet, place the entire tray in the fridge for at least 30 minutes. This solidifies the butter, ensuring your designs stay put while they bake.
Sometimes the smallest tweaks make the biggest impact. If your cookie dough feels too stiff to pipe, don’t fight it. Instead, fill your piping bag with less dough at a time. The natural warmth from your hands will soften the butter just enough to make piping much smoother. Another pro tip involves the cooling process. Don’t rush to move your cookies off the baking sheet. Let them rest on the hot pan for about five minutes after you pull them from the oven. This helps them set properly so they don’t fall apart when you transfer them to a wire rack.
You’ve baked a perfect batch of coffee butter cookies, and your kitchen smells incredible. Now, let's make sure they stay just as delicious as the moment they came out of the oven. Proper storage is the secret to preserving that delicate, melt-in-your-mouth texture. Whether you plan to enjoy them over the next few days or save them for a later date, these simple steps will keep your cookies tasting bakery-fresh. It’s easier than you think to protect your hard work and ensure every last cookie is a treat.
Patience is key here! Before you even think about putting your cookies away, let them cool completely on a wire rack. Storing warm cookies creates steam inside the container, which leads to a soft, soggy texture—and nobody wants that. Once they’ve reached room temperature, place them in an airtight container. This is the most important step for maintaining their crispness and rich coffee flavor. When stored this way, you can keep your cookies fresh for up to a month, ready for you to grab whenever a craving strikes.
If you want to savor your cookies later, freezing is a great option. For already-baked cookies, arrange them on a baking sheet and pop them in the freezer for about 10 minutes. This quick "flash freeze" helps them hold their shape and prevents them from sticking together. After that, transfer the firm cookies to a freezer-safe bag or container. You can also freeze the unbaked dough. Simply pipe the cookies onto a baking sheet, freeze until solid, and then store them in a freezer bag. This way, you can bake a few fresh, warm cookies anytime you want.
The number one enemy of a crisp cookie is moisture, especially if you live in a humid climate. To fight back, make it a rule to store your cookies in an airtight container as soon as they are completely cool. This simple habit is the best way to protect their texture and prevent them from going soft. Don’t leave them out on the counter uncovered for longer than necessary. By sealing them up tight, you can ensure your cookies remain crisp and delightful for much longer, preserving that perfect snap with every bite.
When you follow these storage tips, your coffee butter cookies can easily stay fresh for up to one month. That makes them perfect for baking ahead of a party, giving as a gift, or just keeping a personal stash on hand for busy weeks. The secret really is that airtight container—it locks in the flavor and locks out the moisture that can make them stale. So, go ahead and bake a big batch! With the right storage, you’ll have delicious, ready-to-eat cookies waiting for you.
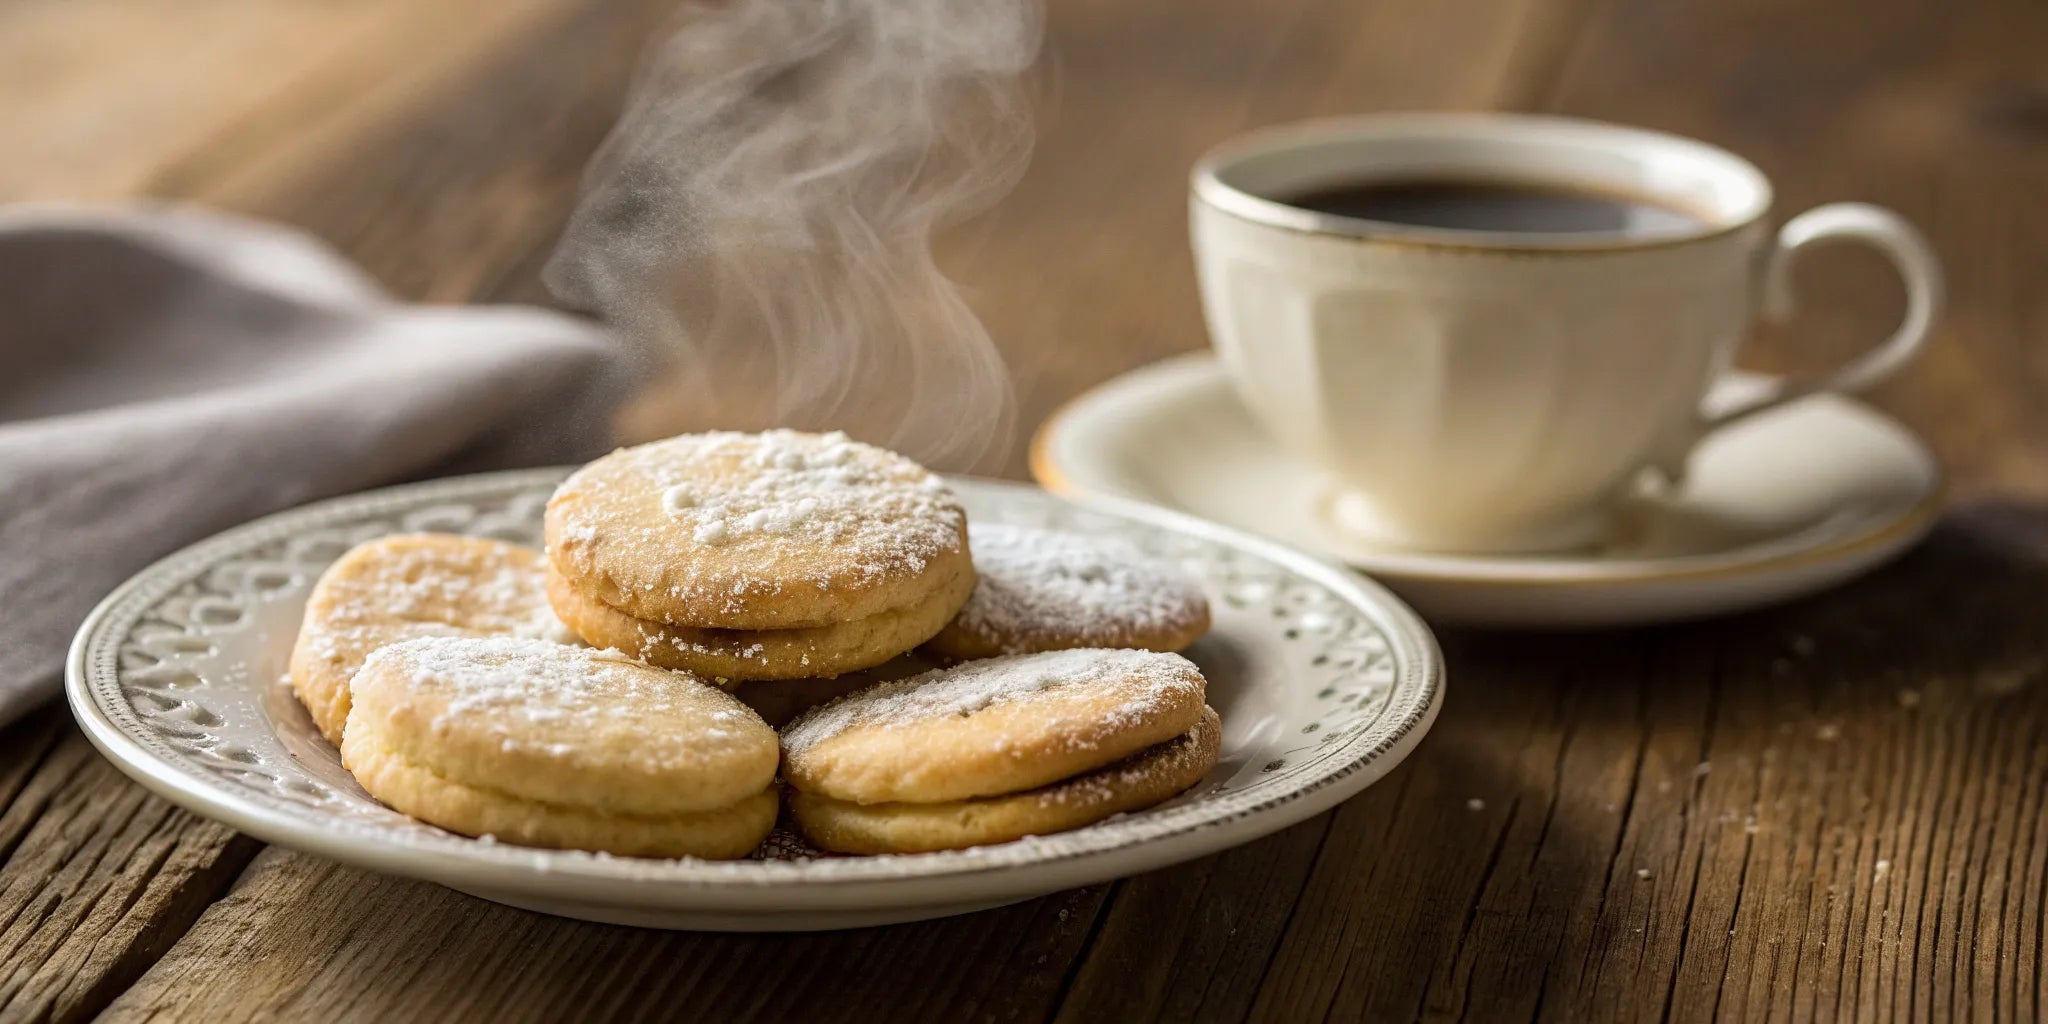
You’ve baked a batch of incredible coffee butter cookies, and now it’s time for the best part: sharing them. Serving cookies is about more than just putting them on a plate; it’s about creating a moment. Whether you’re treating yourself to a quiet afternoon snack or hosting a get-together, a little extra thought in how you present and pair your cookies can make the experience truly special. Let’s get into some simple ways to serve your delicious creations.
The most obvious choice is, of course, a great cup of coffee. An espresso or a simple black coffee will highlight the rich, roasted notes in the cookies. But don't stop there! For a cozier vibe, a creamy latte or a rich hot chocolate makes for a truly decadent treat. If you're more of a tea person, the bright, citrusy notes of an Earl Grey or the clean, grassy flavor of a green tea cut through the richness of the butter beautifully. Finding these perfect pairings can really change the cookie-eating experience. And for something completely different, try serving them alongside a cheese board or even with a crisp glass of white wine—the buttery flavor is surprisingly versatile.
Your coffee butter cookies are fantastic on their own, but they also serve as a perfect canvas for other flavors. Think about creating a cookie platter with a few different variations to wow your guests. You could offer the classic version alongside a batch with a fun twist. For example, you could mix in dried cherries and dark chocolate chips for a rich, complex flavor or add a pinch of cinnamon and some candied citrus peel for a warm, zesty kick. Offering a couple of creative variations like this not only looks impressive but also gives everyone something to talk about. It’s a simple way to make your dessert spread feel extra thoughtful and personalized.
We eat with our eyes first, so a little effort in presentation goes a long way. You don't need to be a professional food stylist to make your cookies look amazing. Simply arranging them on a beautiful platter, a rustic wooden board, or a tiered stand can instantly make them feel more special. For a pop of color and elegance, add a few simple garnishes. A light dusting of cocoa powder, a sprinkle of finely chopped pistachios, or a few fresh mint leaves next to the cookies can make a huge difference. Thinking about the overall guest experience will help you create a memorable moment for anyone you're sharing your bakes with.
Can I use regular ground coffee instead of instant coffee? For this recipe, you really need to stick with instant coffee. Regular ground coffee won't dissolve into the dough, which would give your cookies a gritty, unpleasant texture. Instant coffee granules are designed to dissolve completely, infusing the entire cookie with a smooth, rich coffee flavor without any grittiness.
My cookies spread and lost their beautiful piped shape. What went wrong? This is a super common issue, and it usually comes down to one of two things: your butter was too warm, or you skipped chilling the dough. Make sure your butter is softened but still cool to the touch before you start mixing. Most importantly, after piping the cookies onto the baking sheet, always chill them in the refrigerator for at least 30 minutes. This solidifies the butter, helping the cookies hold that lovely shape as they bake.
What if I don't have a piping bag and star tip? No problem at all! While piping gives them that classic look, you can still make delicious cookies without one. Simply roll the dough into small, one-inch balls and place them on your baking sheet. Then, gently press them down with the tines of a fork to create a simple crisscross pattern. They'll taste just as wonderful.
Can I make the dough in advance? Absolutely. This dough is perfect for making ahead of time. You can prepare the dough, wrap it tightly in plastic wrap, and store it in the refrigerator for up to three days. When you're ready to bake, just let it sit at room temperature for a few minutes until it's soft enough to pipe or roll easily.
Besides coffee, what are the most important ingredients for that melt-in-your-mouth texture? The secret to that incredible texture lies in a few key ingredients. Using high-quality, high-fat butter is non-negotiable as it creates a rich flavor and tender crumb. Powdered sugar, rather than granulated, dissolves more smoothly for a less grainy feel. Finally, the addition of cornstarch is the real game-changer; it helps create that light, delicate quality that makes the cookies practically dissolve on your tongue.